
티스토리 뷰
728x90
반응형
1. fotorama, jquery 로딩
<link  href="https://cdnjs.cloudflare.com/ajax/libs/fotorama/4.6.4/fotorama.css" rel="stylesheet">
<script src="https://cdnjs.cloudflare.com/ajax/libs/jquery/3.6.0/jquery.min.js"></script>
<script src="https://cdnjs.cloudflare.com/ajax/libs/fotorama/4.6.4/fotorama.js"></script>
jquery.mon.js가 fotorama.js보다 앞에 와야 한다.
2. class를 fotorama로 지정하고 다양한 기능 사용
Fotorama — Simple and Powerful Responsive jQuery Image Gallery
A simple yet powerful responsive jQuery image gallery. Set up Just copy and paste the snippets below to integrate Fotorama. 1. This goes to the of your page: 2. Then, wherever you want the gallery in your page : Example: Basic 3. Enjoy! Fotorama’s CDN is
fotorama.io
예제
Step04_fotorama.jsp
<%@ page language="java" contentType="text/html; charset=UTF-8"
pageEncoding="UTF-8"%>
<!DOCTYPE html>
<html>
<head>
<meta charset="UTF-8">
<title>/jquery/Step04_fotorama.jsp</title>
<link href="https://cdnjs.cloudflare.com/ajax/libs/fotorama/4.6.4/fotorama.css" rel="stylesheet">
<script src="https://cdnjs.cloudflare.com/ajax/libs/jquery/3.6.0/jquery.min.js"></script>
<script src="https://cdnjs.cloudflare.com/ajax/libs/fotorama/4.6.4/fotorama.js"></script>
<style>
.content{
width: 800px;
height: 500px;
background-color: yellow;
}
.content img{
width: 100px;
}
</style>
</head>
<body>
<div class="fotorama"
data-width="500"
data-height="300"
data-allowfullscreen="true"
data-nav="thumbs"
data-autoplay="true">
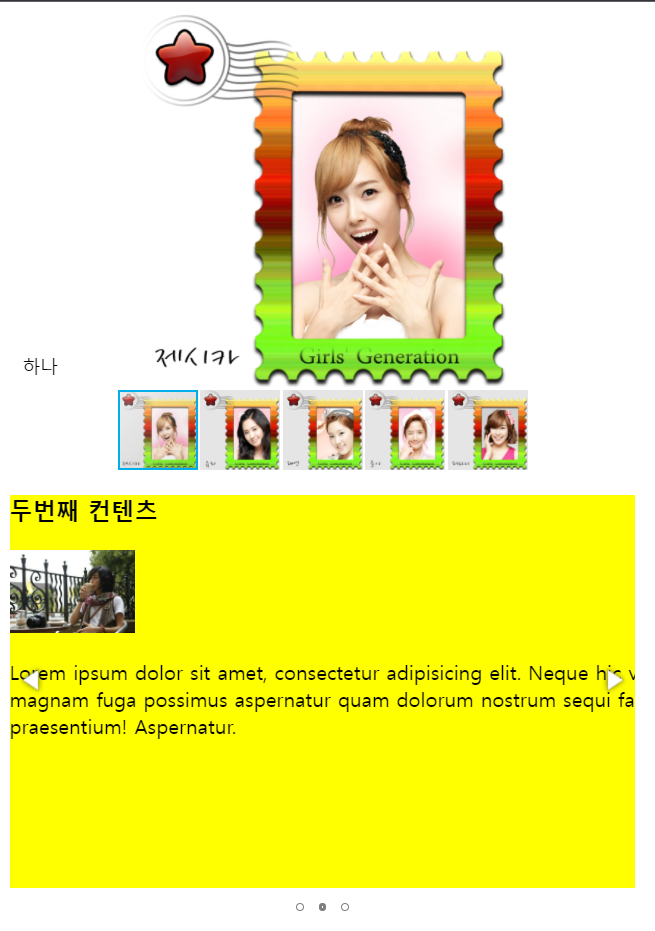
<img src="images/image1.png" data-caption="하나"/>
<img src="images/image2.png" data-caption="두울"/>
<img src="images/image3.png" data-caption="세엣"/>
<img src="images/image4.png" data-caption="네엣"/>
<img src="images/image5.png" data-caption="다섯"/>
</div>
<div class="fotorama">
<div class="content">
<h3>첫번째 컨텐츠</h3>
<img src="images/1.jpg" alt="" />
<p>Lorem ipsum dolor sit amet, consectetur adipisicing elit. Neque hic voluptate magni doloremque consectetur magnam fuga possimus aspernatur quam dolorum nostrum sequi facilis vitae ducimus natus nobis provident praesentium! Aspernatur.</p>
</div>
<div class="content">
<h3>두번째 컨텐츠</h3>
<img src="images/2.jpg" alt="" />
<p>Lorem ipsum dolor sit amet, consectetur adipisicing elit. Neque hic voluptate magni doloremque consectetur magnam fuga possimus aspernatur quam dolorum nostrum sequi facilis vitae ducimus natus nobis provident praesentium! Aspernatur.</p>
</div>
<div class="content">
<h3>세번째 컨텐츠</h3>
<img src="images/3.jpg" alt="" />
<p>Lorem ipsum dolor sit amet, consectetur adipisicing elit. Neque hic voluptate magni doloremque consectetur magnam fuga possimus aspernatur quam dolorum nostrum sequi facilis vitae ducimus natus nobis provident praesentium! Aspernatur.</p>
</div>
</div>
</body>
</html>그림에 마우스

글에 마우스
반응형
'WEB > Java BackEnd' 카테고리의 다른 글
| [WEB] JSON (0) | 2021.12.01 |
|---|---|
| [WEB] jQuery #4 / DateTimePicker (0) | 2021.12.01 |
| [WEB] jQuery #2 / Effect - 숨기기, 보이기, 토글, hide() (0) | 2021.12.01 |
| [WEB] jQuery #1 / chain action, EventListener (0) | 2021.12.01 |
| [WEB-jsp/servlet] Filter 사용하기 / 한글 인코딩, 로그인에 필터 사용헤보기 (0) | 2021.11.30 |
댓글
공지사항
최근에 올라온 글
최근에 달린 댓글
- Total
- Today
- Yesterday
링크
TAG
- 브루트 포스
- append
- 백준
- web
- 큐
- 자바스크립트
- jsp
- javascript
- Java
- jQuery
- bootstrap
- baekjoon
- R
- brute force
- 파이썬
- html
- 자바
- python
- Case When
- 정렬
- 덱
- 프로그래머스
- Oracle
- 스프링
- 단계별로풀어보기
- CSS
- Django
- 장고
- 문자열
- 고득점 키트
| 일 | 월 | 화 | 수 | 목 | 금 | 토 |
|---|---|---|---|---|---|---|
| 1 | 2 | 3 | 4 | 5 | ||
| 6 | 7 | 8 | 9 | 10 | 11 | 12 |
| 13 | 14 | 15 | 16 | 17 | 18 | 19 |
| 20 | 21 | 22 | 23 | 24 | 25 | 26 |
| 27 | 28 | 29 | 30 |
글 보관함